Description
Technical Overview
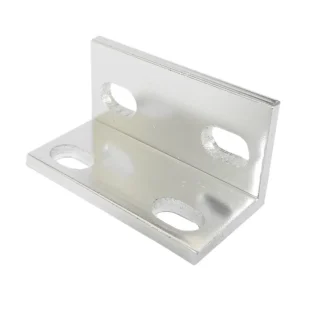
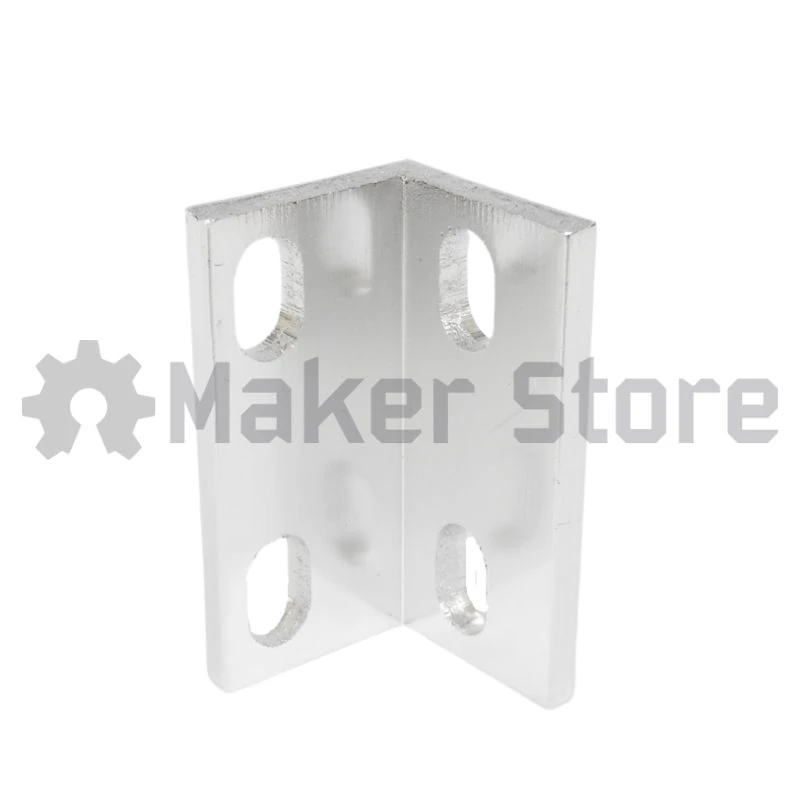
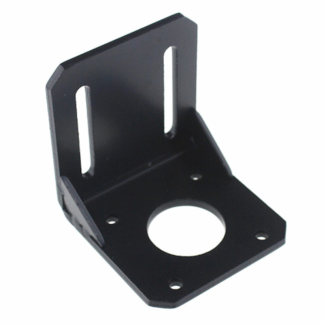
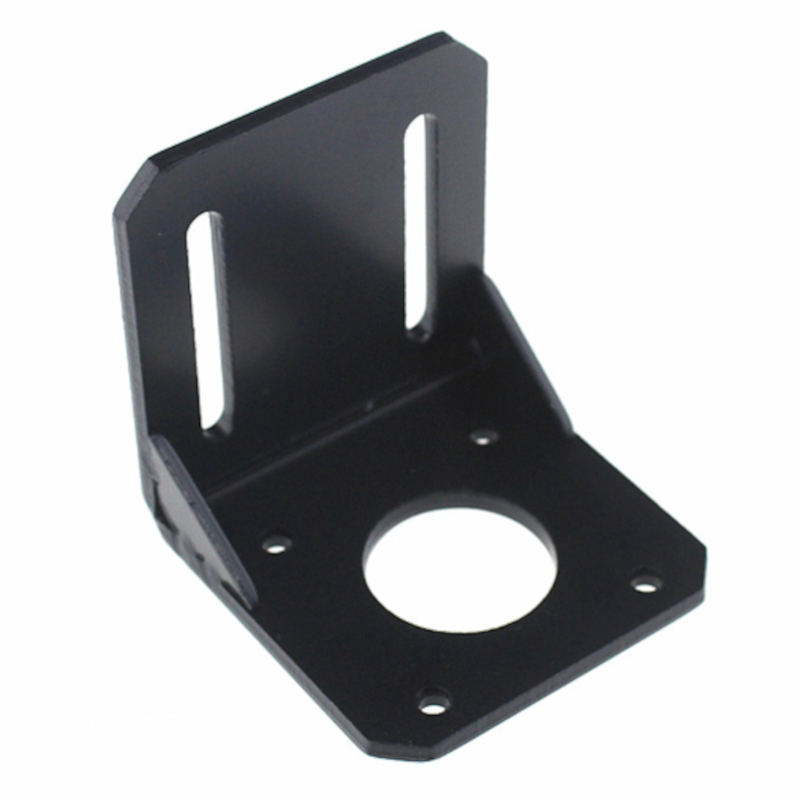
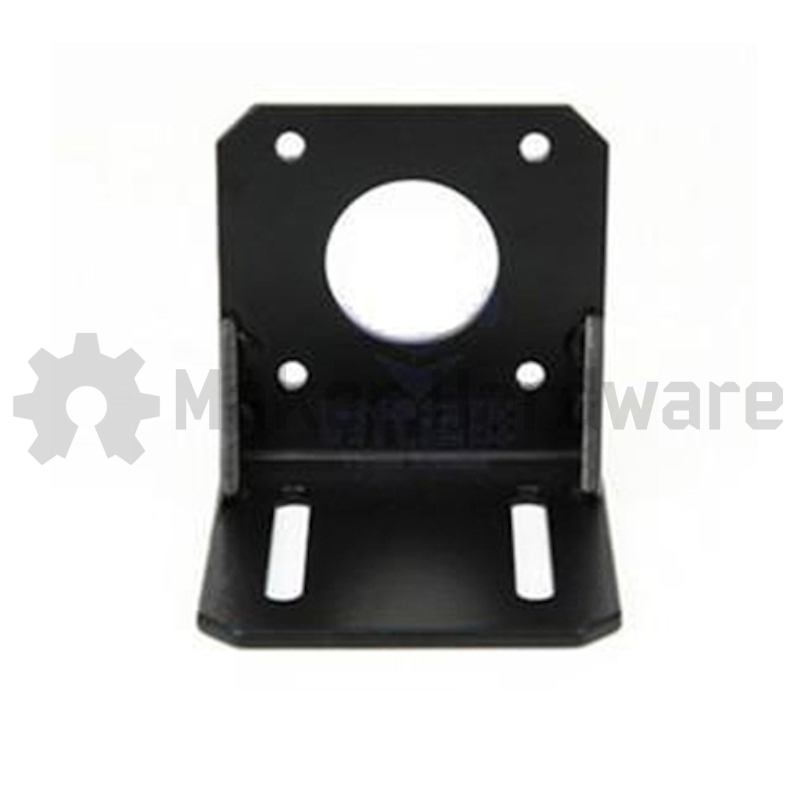
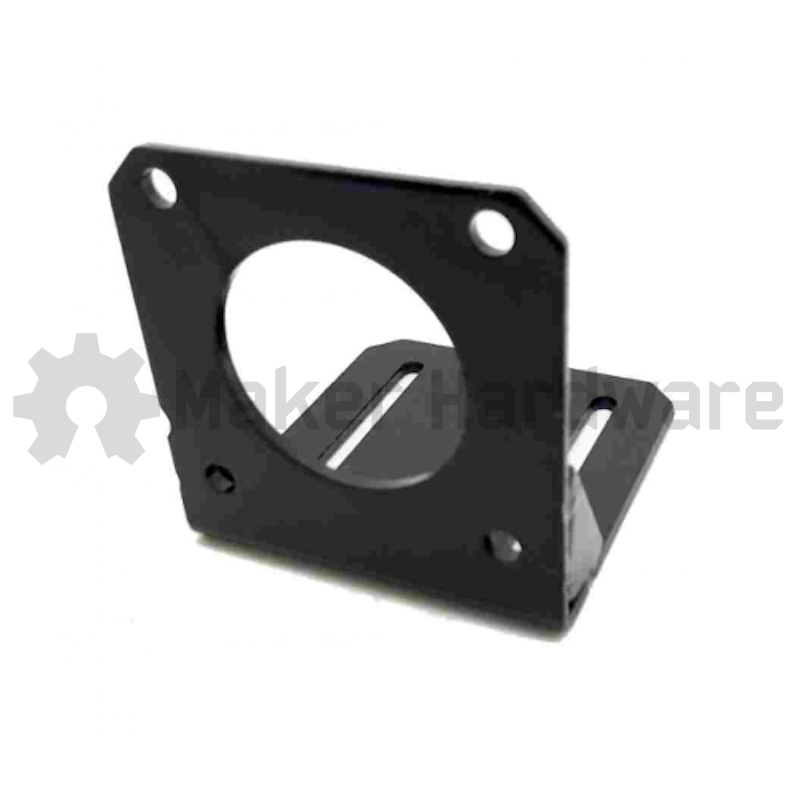
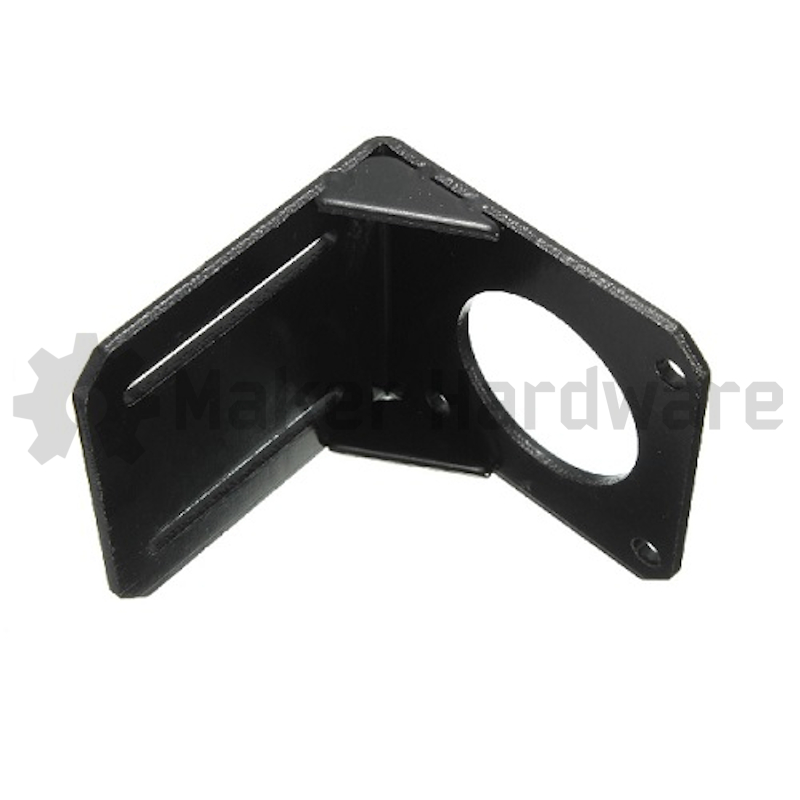
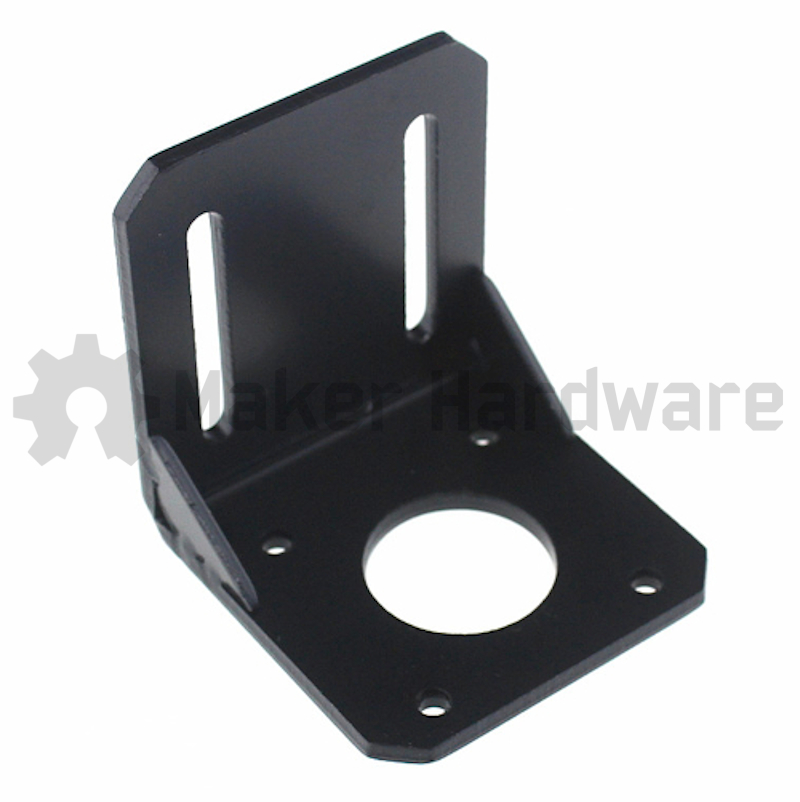
Linear motion and automation systems use the NEMA23 Motor Right Angle Mount Plate to securely fasten a NEMA23 stepper motor to a flat surface at a 90-degree angle. This L-shaped bracket enables precise integration of powerful motors into compact machine configurations.
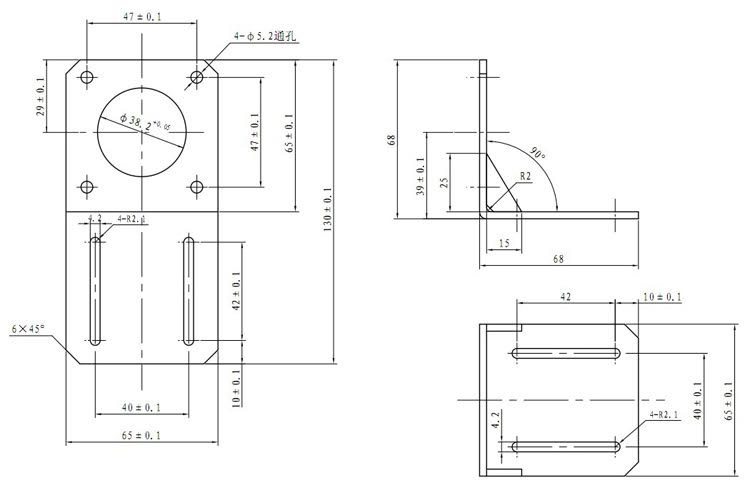
To integrate into a system, the bracket mounts directly between the motor faceplate and a machine frame or gantry. In addition, its design features a standardized bolt pattern with pre-drilled holes that align exactly with the standard 57mm x 57mm faceplate of a NEMA23 motor. Once you install the motor, the plate provides rigid support to prevent flexing and component misalignment.
Applications
Operators primarily utilize this hardware in CNC machines, routers, and high-precision 3D printers. Specifically, the mount plate is frequently used to position a motor perpendicular to linear guide rails, enabling efficient belt-and-pinion or lead screw drive systems. Furthermore, the bracket works exceptionally well in 3D printing applications to support high-torque extruders and movement axes.
To maintain stability across robotics and automation platforms, the bracket provides rigid support for articulated joints, rotary tables, and custom linear actuators. Technicians often take advantage of the slotted mounting holes to adjust positioning dynamically. Consequently, this feature makes it much easier to tension drive belts or align gears during assembly. Moreover, the reinforced structure—constructed from thick, coated steel or anodized aluminum with bent or welded corners—successfully resists severe motor torque and system vibration.
NOTE:
Includes 1 x NEMA23 Motor Right Angle Mount Plate. Mounting hardware is NOT included
Maker Store Tips and Tricks
-
Ensure you loosely fit all fastening bolts into the slotted holes before finalizing the alignment of your gears or belts.
-
Leverage the adjustable slots to pull the drive belt taut, then lock down the mounting screws to maintain proper tension.
-
Periodically check the mounting hardware tightness in high-torque or high-vibration applications to prevent motor shifting.