Description
5A 75W DC-DC Converter Adjustable Step-Down Module 24V-38V to 1.25V-36V
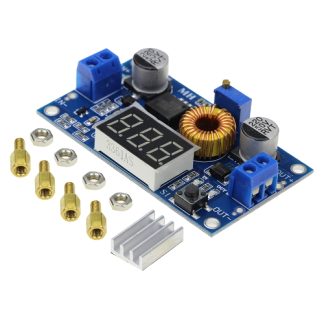
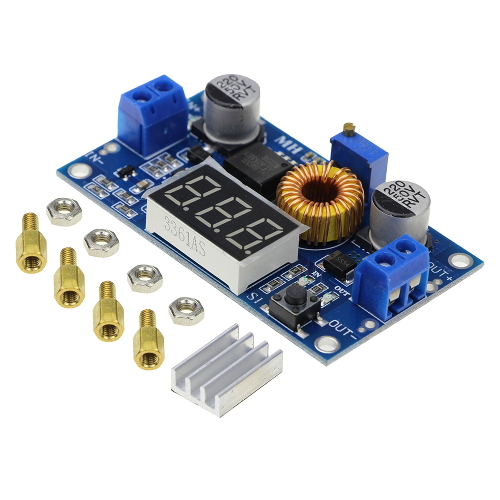
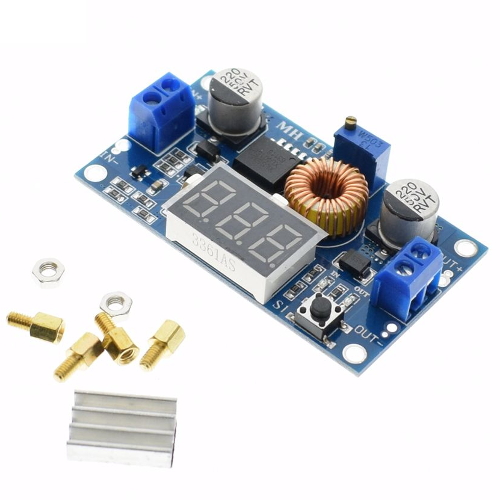
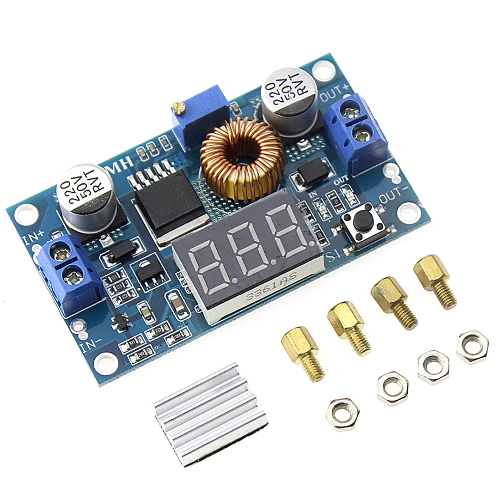
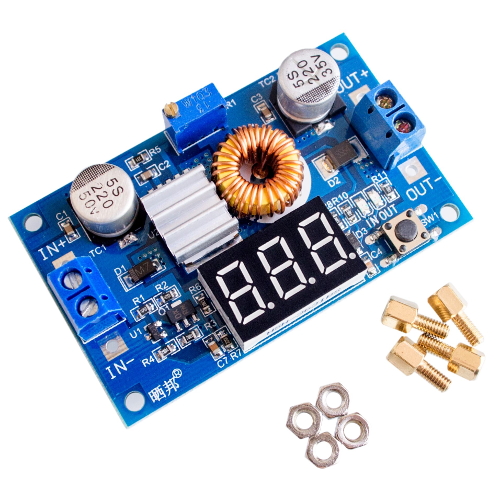
The DC-DC Adjustable Step Down Converter Module has large power, high efficiency and low-ripple. It has power indicator and an on-board voltmeter. The voltmeter can calibrate automatically and can be changed between input and output voltage, with indicator. The voltmeter can also be shutdown. The board uses connection terminal for easy wiring and comes with standoffs and nuts for easy mounting!
- Built in thermal shutdown function
- Built in current limit function
- Built in output short protection function
Specifications:
- Module Properties: 5A High Power 75W DC-DC adjustable step-down module
- Input voltage: DC 24V ~ 38V
- Output voltage: DC 1.25V ~ 35V continuously adjustable (the input voltage must be at least 1.5V higher than the output voltage)
- Output current: max 5A, recommend 4.5A
- Output power: up to 75W, more than 50W, Please enhance heat dissipation
- Voltmeter error: ± 0.05V
- Measure range: 0 ~ 40V ( please ensure that the input voltage is 24V or more)
- Conversion efficiency: up to 96%
- Load regulation: S (I) ≤ 0.8%
- Voltage Regulation: S (u) ≤ 0.8%
- With overheat protection and short circuit protection
- Dimensions: 6.6 x 3.9 x 1.8cm
Voltmeter calibration method:
1. Output voltage calibration steps
Step 1:
Press the right button so that “”OUT”” LED lights, the voltmeter shows the current value of output voltage. Press and hold the right button for more than 2 seconds, release, voltmeter and “”OUT”” LED flashes in synch which means you’re in output voltage calibration mode.
Step 2:
Pressing the right button (normal speed), the voltage value will increment by 1. Pressing the left button, will decrement the voltage reading by 1. Since the display can only show .1V steps minimum during calibration, you might need to press the adjustment buttons 1-5 times for the display to change by .1V. Pressing the buttons once increments or decrements the actual value by less than .1V hence the 1-5 presses.
Step 3:
Once calibration is done, press and hold the right button again for 2 seconds to exit calibration mode. The set values are automatically saved even after removing power.
2. Input voltage calibration steps
Step 1:
Press the right button so that “”IN”” LED lights, the voltmeter shows the current value of input voltage. Press and hold the right button for more than 2 seconds, release, voltmeter and “”IN”” LED flashes in synch which means you’re in input voltage calibration mode. Follow steps 2 and 3 of output voltage calibration steps.