
Description
Technical Overview
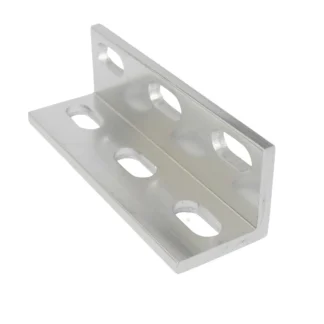
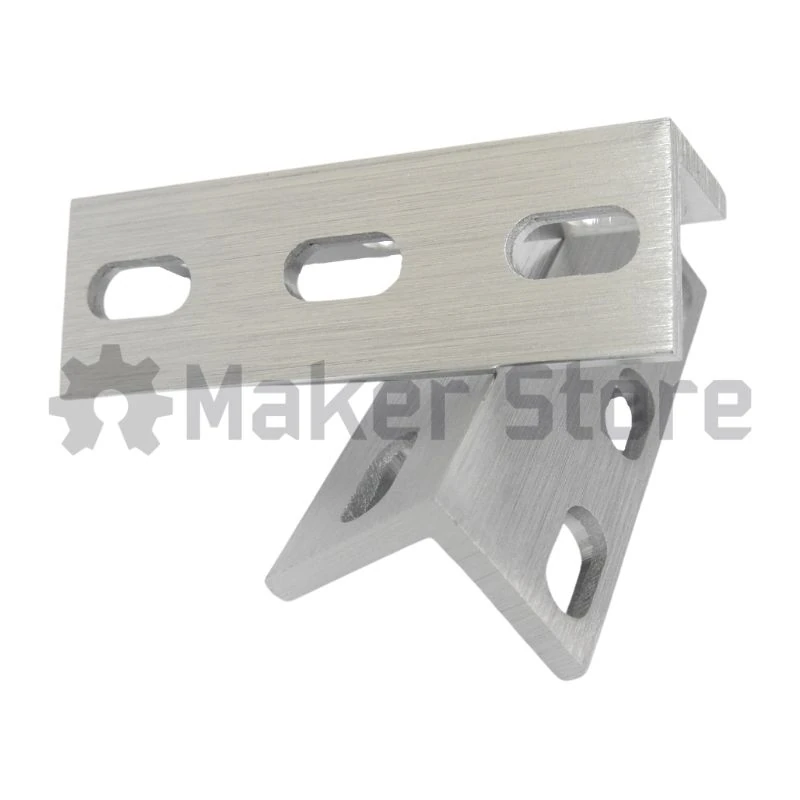
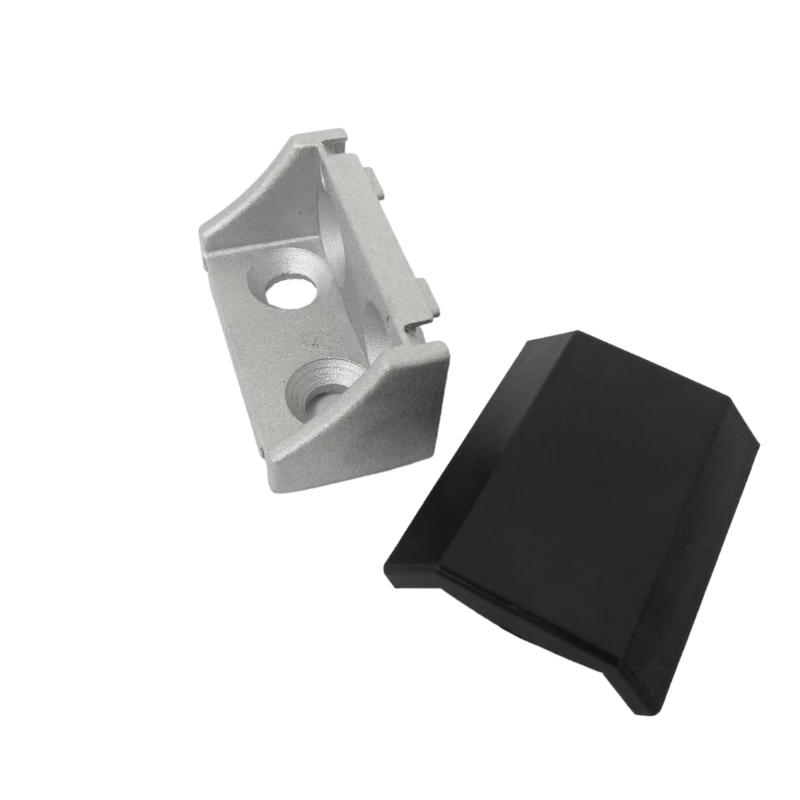
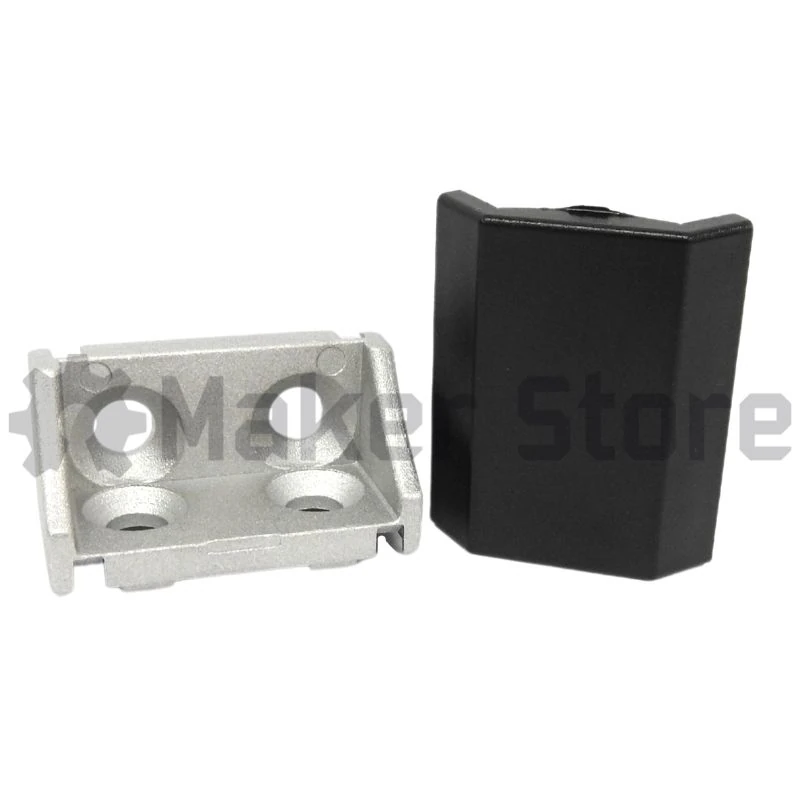
The Cast 4-Hole 90 Corner Bracket with Cover functions as a heavy-duty structural joining component paired with an integrated protective shield, engineered specifically to establish rigid perpendicular connections while maintaining a streamlined finish. The 4-hole mounting configuration distributes clamping force evenly across intersecting profile faces, providing exceptional joint rigidity and structural stabilization under mechanical loads.
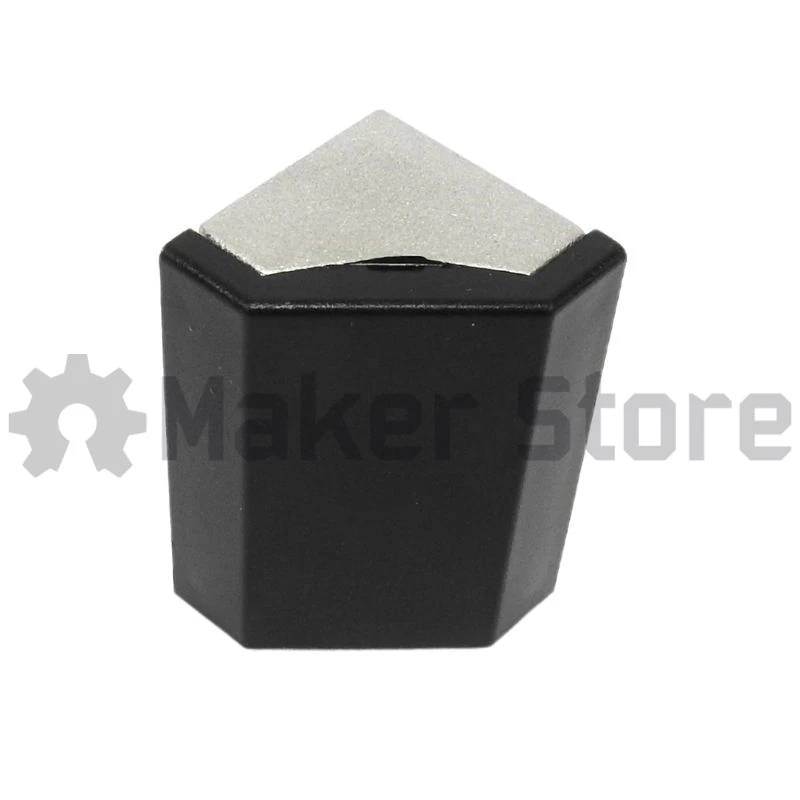
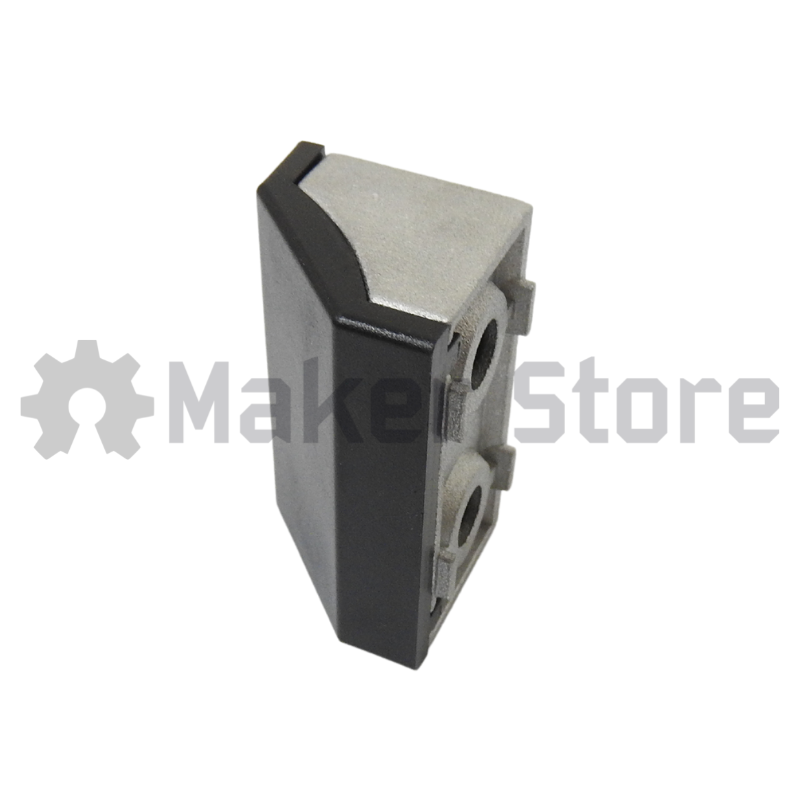
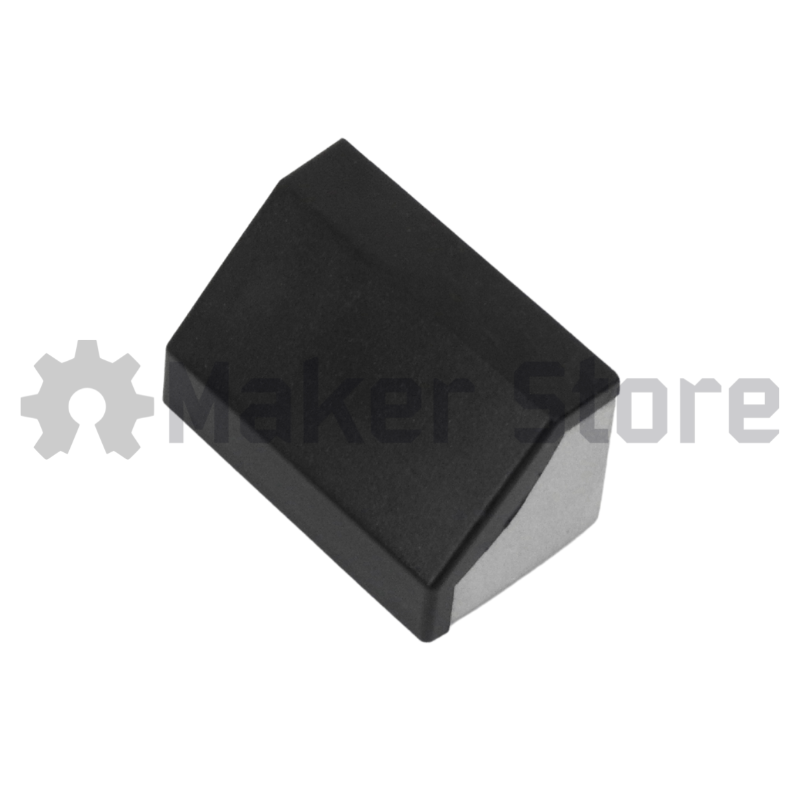
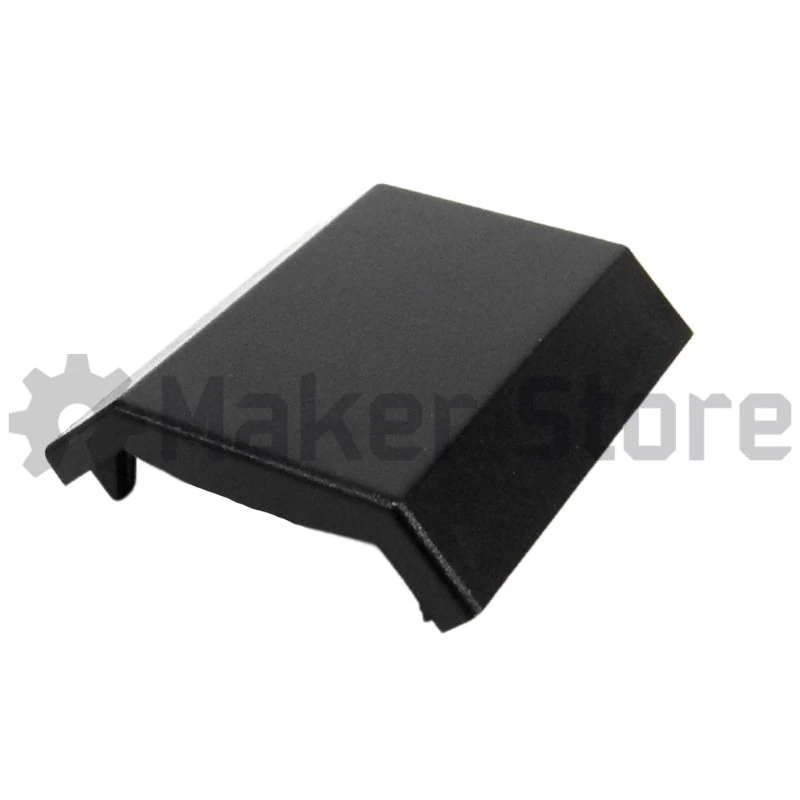
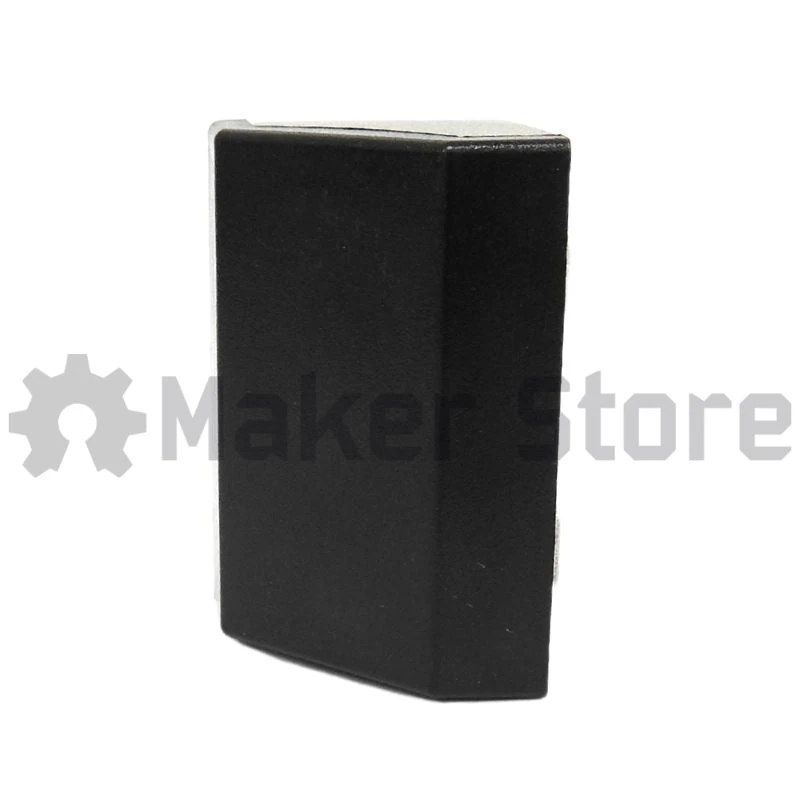
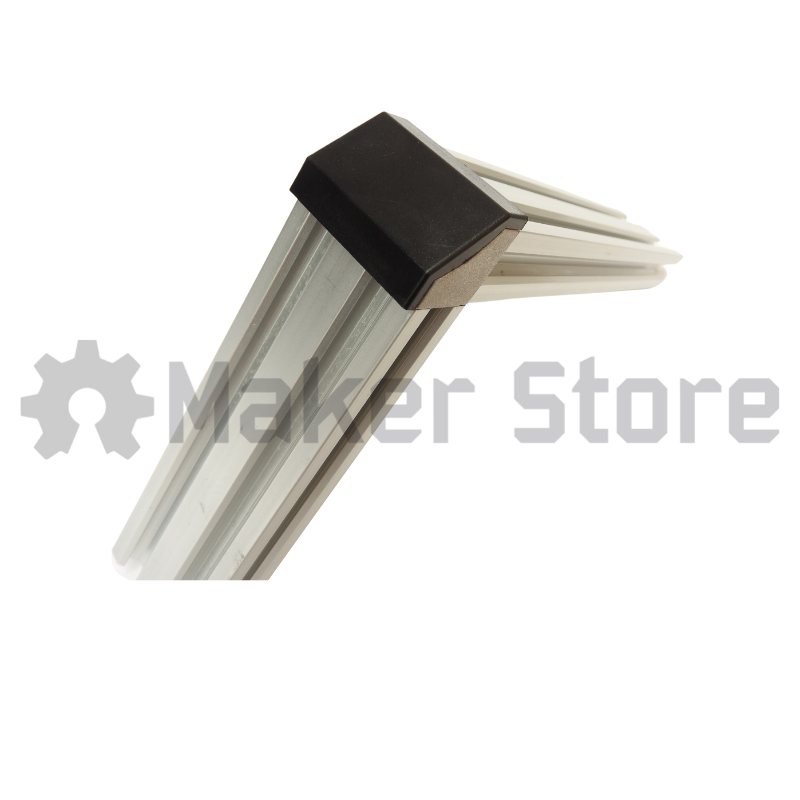
Furthermore, the secondary protective cover clips securely over the cast assembly to isolate raw metal edges and fastening hardware. This mechanical arrangement delivers a completely flush, non-reactive outer barrier that optimizes overall system hygiene, streamlines profile tracking layouts, and enhances user interaction safety in high-traffic modular environments.
Applications
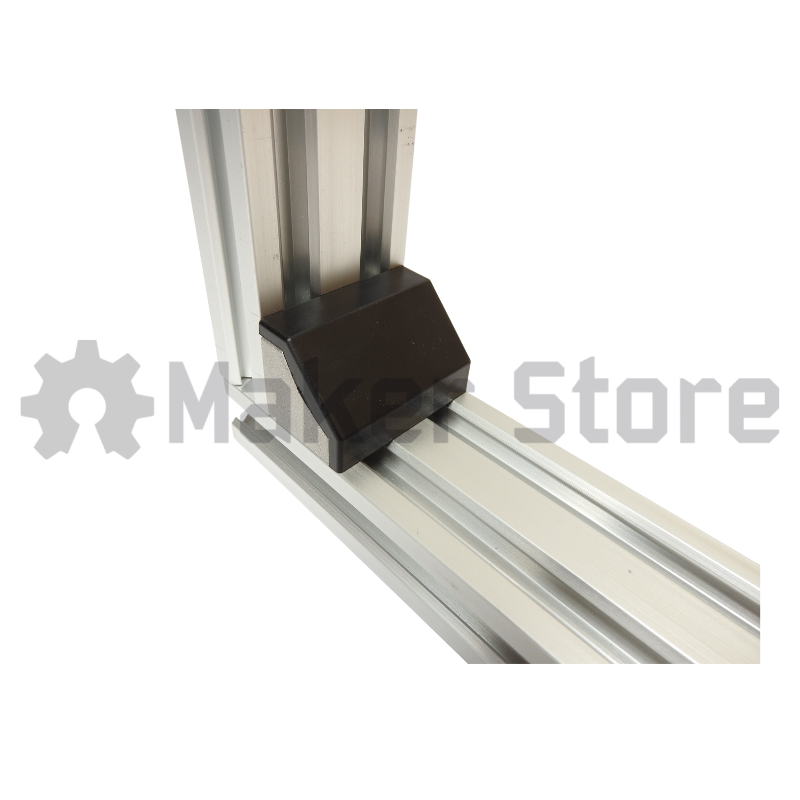
Engineers and builders primarily use this multi-hole corner bracket assembly to construct right-angle intersections, structural frame corners, and mechanical reinforcements across varied machine frames. Consequently, it delivers a highly stable connection point for assembling automated manufacturing enclosures, heavy-duty CNC machinery bases, 3D printer frames, and custom material handling workstations.
In addition, the protective clip-on shroud is designed to fit straight onto the underlying bracket with ease, preventing materials or clothing from catching on exposed fastening tracks or sharp structural edges. This dual-purpose configuration makes the assembly well-suited for laboratory frameworks, collaborative robotic work zones, and modular retail displays where safety and an aesthetic finish are critical parameters.
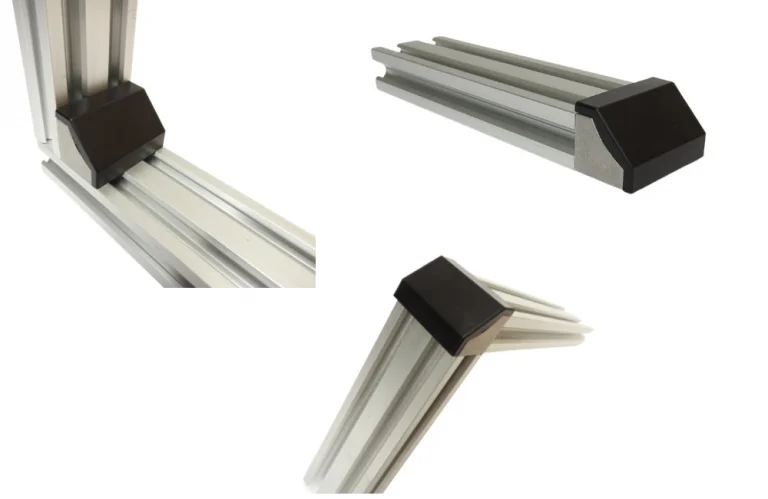
For the above application, you will need:
- V-Slot 20 x 40mm or V-Slot 40 x 40mm
- 3mm Allen Key
- 4 x Sliding T-Nuts (you could also use Drop-in T-Nuts or M5 T-Nuts)
- 4 x Low profile M5x8mm or 4x Button Head M5x8mm
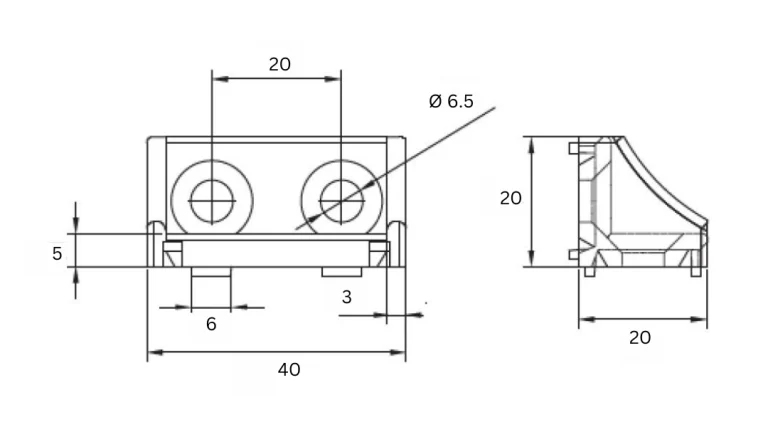
Technical Drawing:
Maker Store Tips and Tricks
-
Align all four structural mounting holes over the extrusion channels and torque your low-profile fasteners uniformly before snapping the shield into position.
-
Press down firmly across the central seating face of the protective cover to guarantee that the locking edges click completely into place over the cast frame.
-
Inspect underlying hardware tightness through scheduled system maintenance tracking before reinstalling the protective shield elements.