
Description
Technical Overview
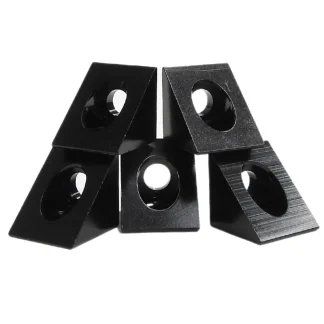
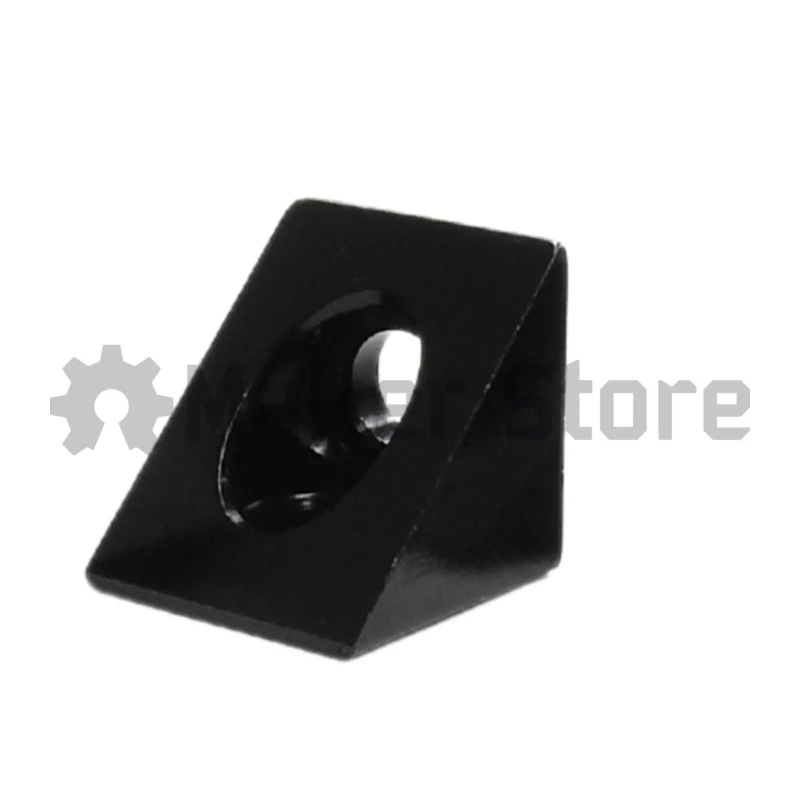
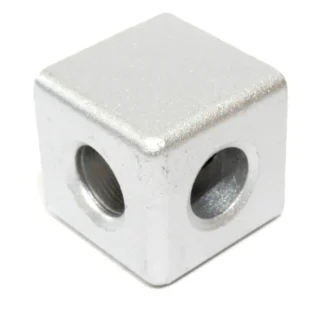
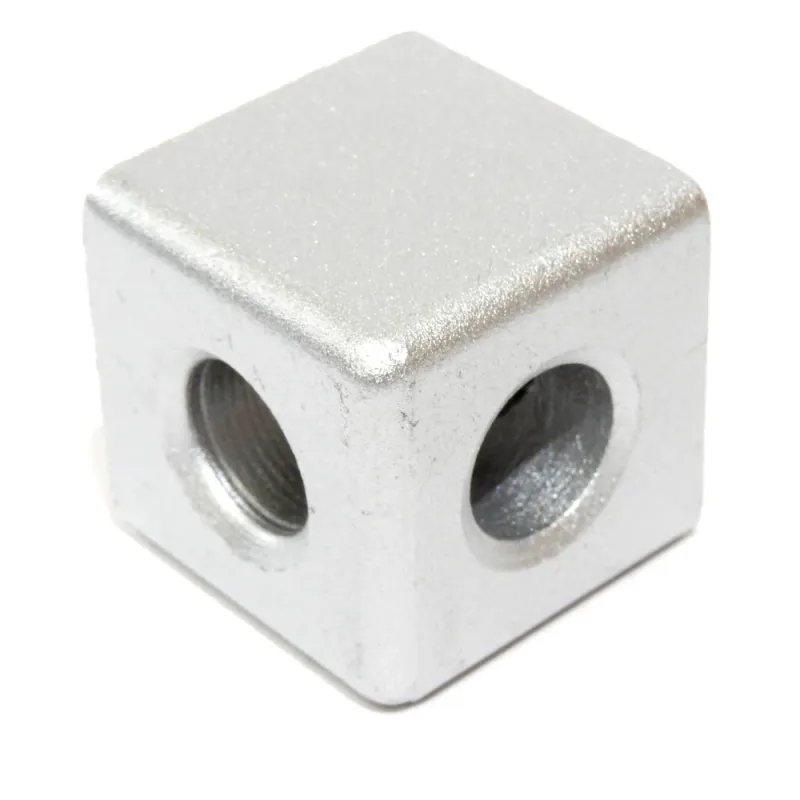
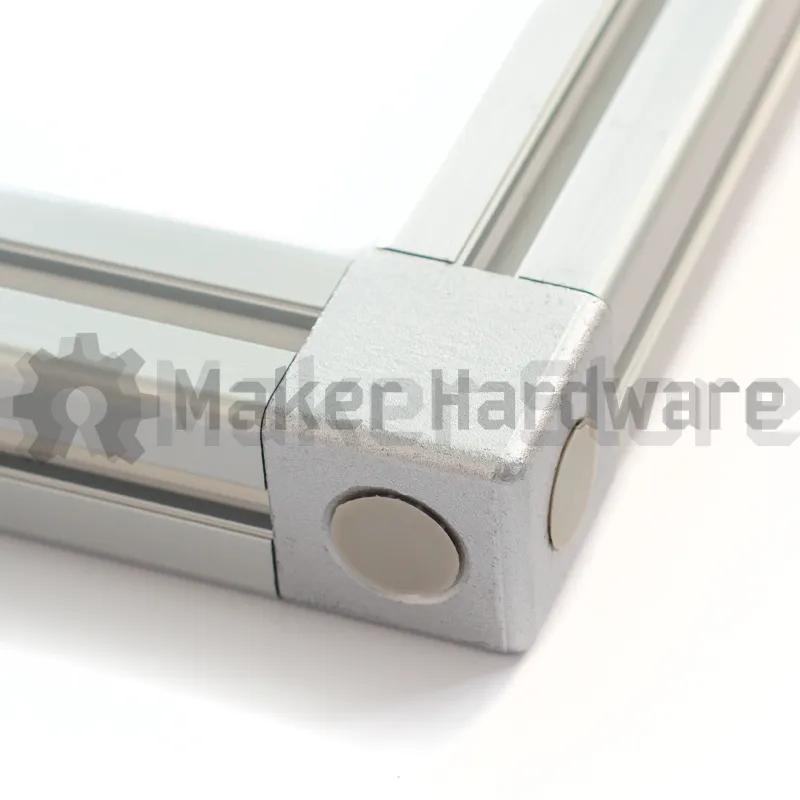
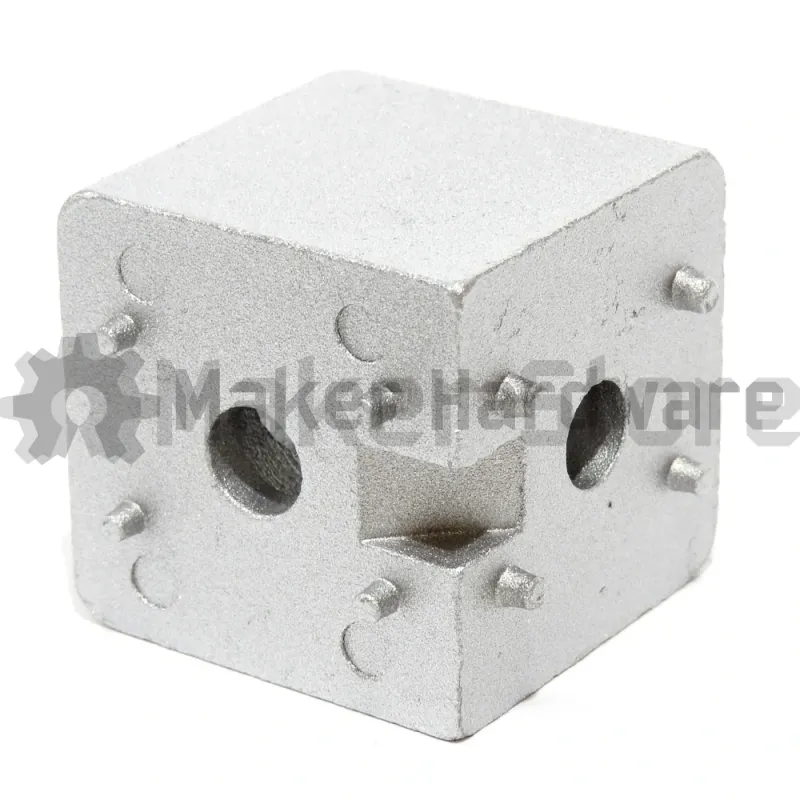
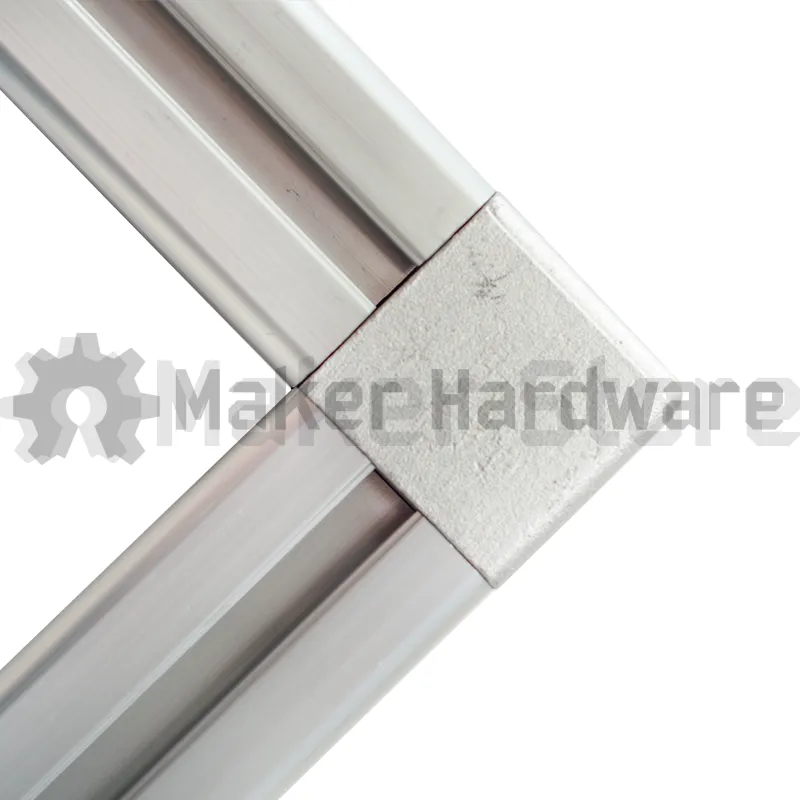
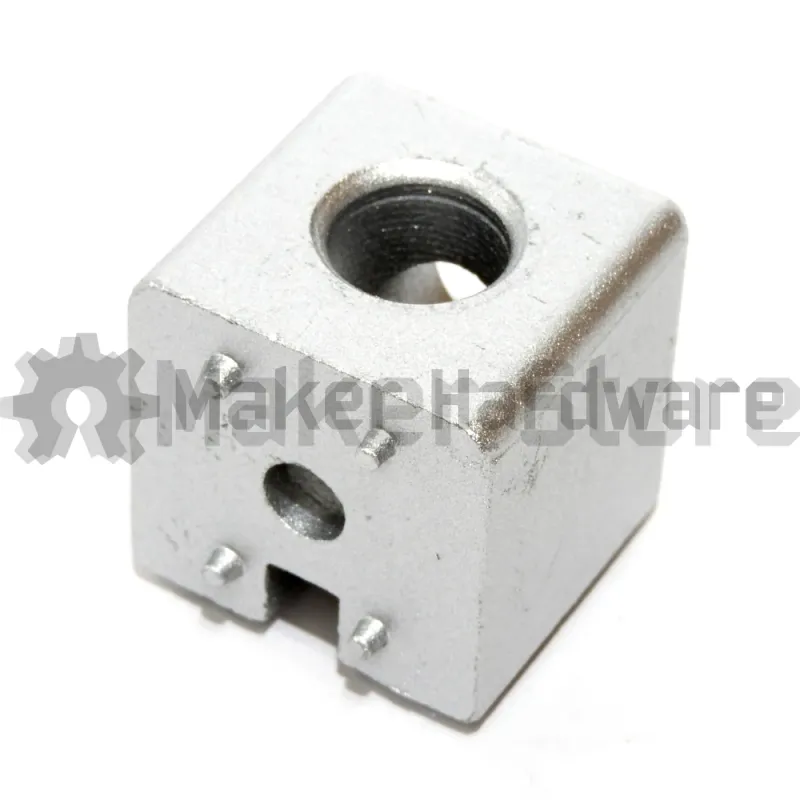
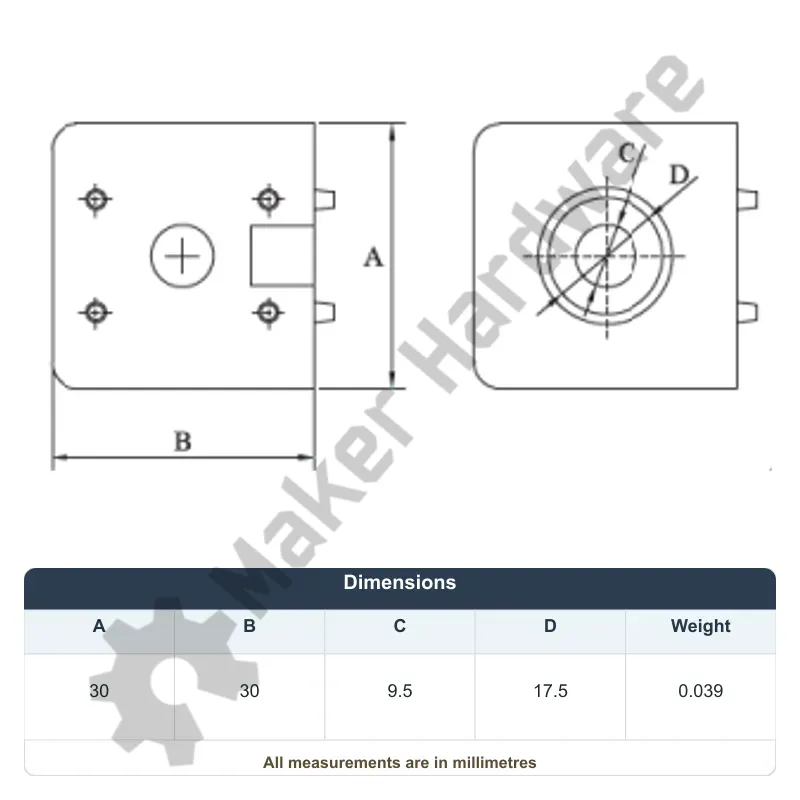
The 2-Way Corner Connector – 30 Series M8 is a die-cast aluminium structural connector with a silver powder coat finish for joining two 30 Series extrusion profiles in a perpendicular or right-angle configuration using the T-slot channel. This connector slides into the T-slot of each adjoining profile and tightens with M8 bolts, creating a compact and rigid node that connects profiles along two axes without an exposed L-bracket on the extrusion face.
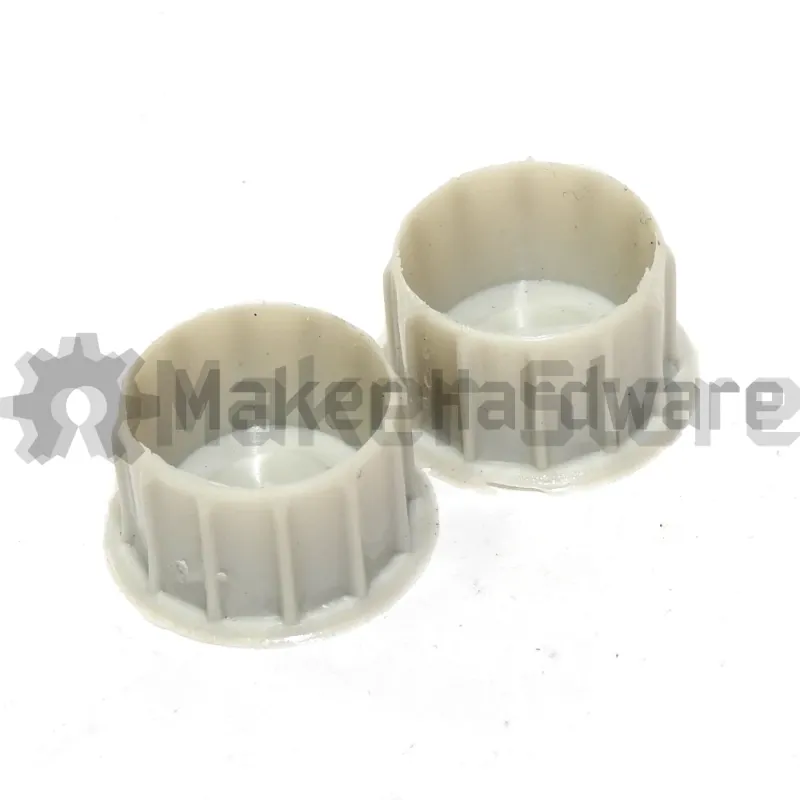
The S-style profile provides a low-profile connector footprint suited to configurations where external bracket clearance is limited. Slot caps are included to cover the unused slot entries at each connection point for a clean finished appearance. The M8 thread provides higher clamping force than M6 variants, making this connector suitable for more demanding structural node applications.
Applications
The 2-Way Corner Connector – 30 Series M8 is used to create right-angle frame junctions in 30 series T-slot builds where two profiles meet perpendicular to one another. Applications include gantry and machine frame junctions, CNC portal assemblies, industrial automation node connections, heavy-duty racking systems, and any structural frame build requiring a compact two-direction slot connection with M8-class holding force at the profile junction.
Fasten with M8 cap head bolts into the profile channel. For three-axis junctions, the 3-Way Corner Connector – 30 Series, M8 extends the connection across an additional axis using the same slot-entry approach.
Technical Specifications
Dimensional Drawing
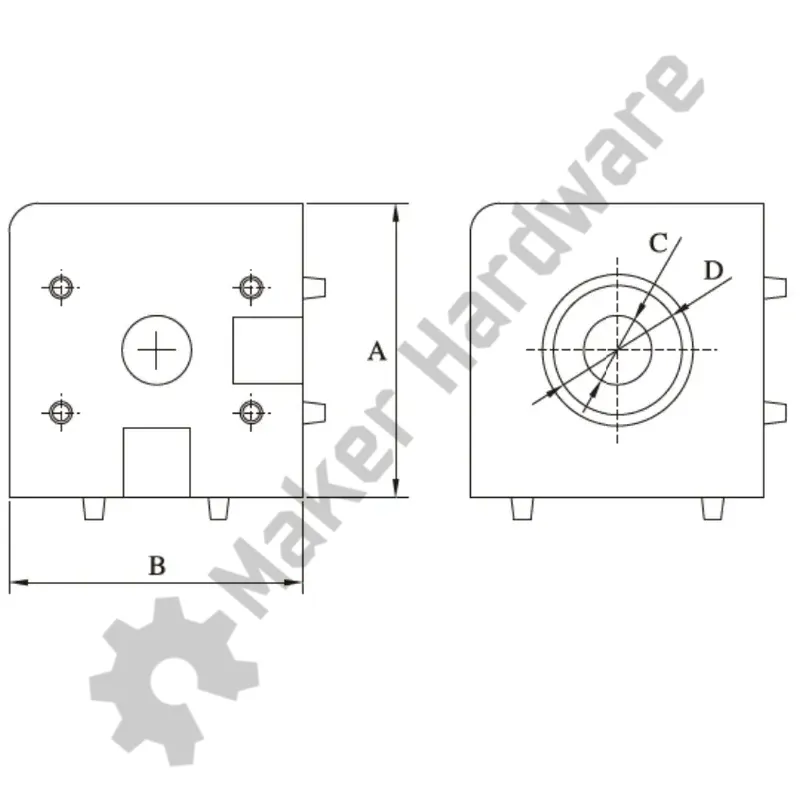
| A | B | C | D |
|---|---|---|---|
| 30 | 30 | 9.5 | 17.5 |
All measurements are in millimetres
Maker Store Tips and Tricks
-
- Insert the connector tabs into both profile slots before tightening – check that both sides are fully seated in the slot channel before applying final torque.
- Tighten each M8 bolt incrementally – alternate between the two bolt positions to seat the connector evenly before full clamp-up.
- For critical structural nodes, pair with an external corner bracket on the outer face to maximise joint stiffness.
- Confirm T-nut positions in each adjoining slot before assembling the node – rearranging T-nuts after the connector is installed requires partial disassembly.
- Fit the included slot caps to any unused slot entries after assembly to give the connector a clean, finished appearance.
Resources