Description
Technical Overview
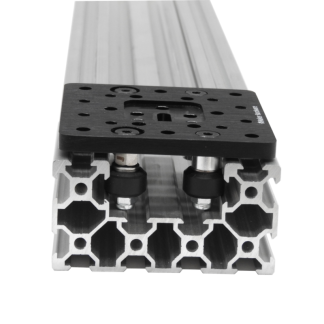
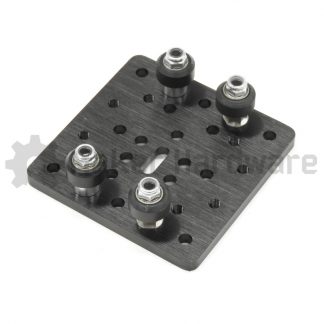
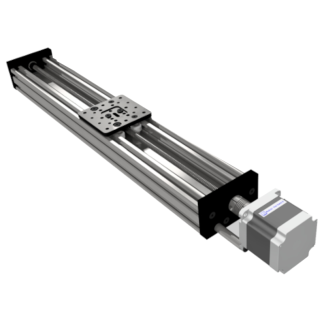
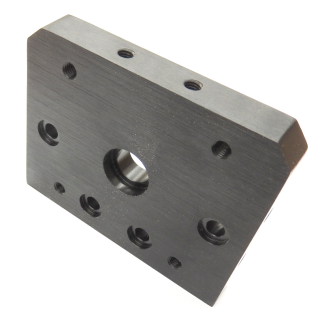
Linear rail systems and CNC routers use C-Beam End Mount Plates to serve as rigid structural anchors and motor mounts. These high-quality aluminum plates feature multiple pre-tapped holes and recessed pockets. Specifically, engineers designed these features to ensure the easy assembly of C-Beam Linear Actuators.
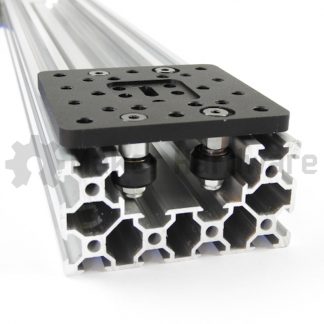
To integrate into a system, the components cap off the open ends of a C-Beam linear rail profile. In addition, the plates utilize recessed screw pockets to ensure completely flush mounts. This sleek alignment works in conjunction with M5 20mm low-profile screws. Once you fasten the plate into position, it holds the driving lead screw in exact alignment with the rail. Consequently, this secure setup reduces vibrations and maintains the strict mechanical accuracy required for smooth, consistent movement.
Applications
Operators primarily utilize this hardware within C-Beam linear actuators, 3D printers, and custom automated machinery. Within these builds, the plate provides dual-function support by acting as both a structural end cap and a reliable motor mount. Pre-tapped mounting holes align perfectly to let builders attach a Nema 23 stepper motor directly to the end of the linear axis.
To ensure stable rotation under heavy operating conditions, each plate features a dedicated recessed bearing pocket. This pocket holds an internal lead screw bearing, such as a 688zz or 625-2RS model, securely in place. Furthermore, the component acts as a solid structural foundation to safely place long lead screws under axial tension. Because technicians manufacture the plate from strong 12mm thick 6061-T5 aluminum, the structure successfully resists bending under high torque loads. Moreover, the shiny black anodized coating provides a finished look while protecting the metal against operational wear.
Technical Specifications
Maker Store Tips and Tricks
-
Use M5 20mm low-profile screws to mount the end plate cleanly to the internal channels of your C-Beam aluminum extrusion.
-
Press the supporting ball bearing completely flat into the recessed pocket before threading the lead screw through the assembly.
-
Check that your Nema 23 motor shaft lines up straight with your lead screw coupling during final tightening to prevent binding.