If you’re looking for a unique wood working project using your CNC machine
This one is for YOU
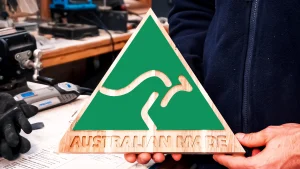
We made this build to show our appreciation for the Australia Made Campaign, a campaign with the goal of celebrating and supporting our country’s makers, growers and innovators.

Let’s get started!
What you will need for this project:
- Hardwood panel – We used a 1200 x 405mm 18mm timber panel Golden Teak Acacia from Bunnings
- Primer
- Green paint – You can get a custom made colour that resembles the Australian Made Logo green from Bunnings
- Transparent Stencil Vinyl (optional)
- CNC Machine (obviously…)
- End Mills
- Finishing tools – sand paper or a rotary tool like a Dremel
This Cut Is Divided Into 2 Phases:
Phase 1: Design of the “Australian Made” Logo
Step 1. Setting The Software
The software we used to get our design ready is Vectric Aspire, but if you’re using Vectric Vcarve, that will work perfectly well also.
You can start by creating a new job with a work area of 340 x340mm. This is the working area for the workpiece.
Step 2. Import DXF File
You can download the Australian Made Logo .dxf file here:

Then Import the Australian Made Logo DXF into the working area. Expand it to the desired size and press F9 to centre it into the material.
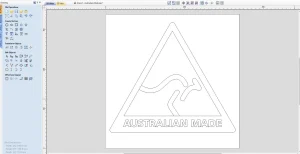
Step 3. Pocketing The Kangaroo
We started by pocketing out the kangaroo with our 6mm end mill. You can see the cut parameters by highlighting the kangaroo.
We set the cut depth to 3mm and selected the 6mm #100, 2 Flute down cut end mill from our library.
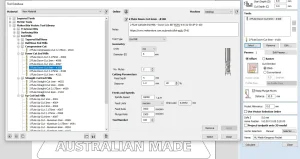
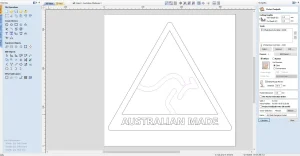
Step 4. Setting Parameters For The Triangle
You can set the other parameters such as the ramp parameters (10mm) and cut direction.
Name your toolpath and click “Calculate” for the toolpath to be formed.
The next toolpath is pocketing out the triangle. We used the same 6mm down cut bit for this operation cutting at a depth of 6mm.
As this cut is not too demanding on the OutBack CNC Machine, we did it in a single pass.
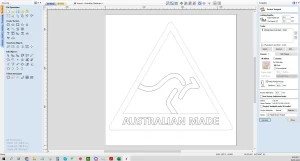
Step 5. Adding Tabs
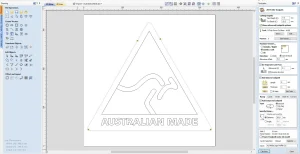
For the profile cut, we once again used the 6mm bit.
We set tabs to hold the workpiece while we do the final toolpath for the text.
We recommend using tabs if you intend to cut something out of the stock.
If you see in the image below, we added 4 tabs in our tool path.
Step 6. Setting Parameters For The Text
For the text we used a 2mm #180 Maker Bits, 2 Flute Down-Cut 3.175mm (1/8”) end mill.
We began with a starting depth of 3mm as we’ve already removed 3mm of material, and we cut to an additional depth of 3mm (6mm total).
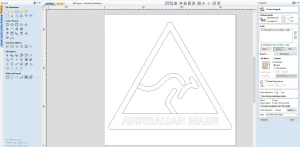
The toolpaths will be displayed on the right section once they have been set.
We color-coded our toolpaths to assist us with the simulation afterwards.
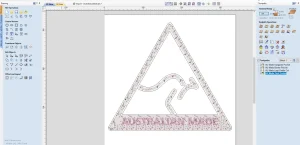
Step 7. Simulate The Tool Path
We recommend to simulate the toolpaths before proceeding with cutting the material. This way you can see the parts will be cut as desired.
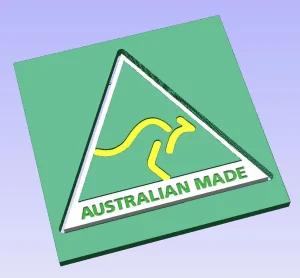

⬇️Your vectric file should look like this⬇️

Phase 2: Fabricating the “Australian Made” Logo
Step 1. Prime The Work Piece
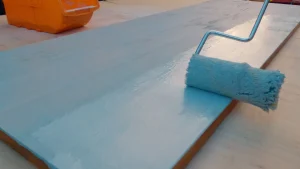
If you want to paint your Australian Made logo, start by applying 2-3 layers of primer.
Any indoor/outdoor primer will work, ensure that you leave it to dry in a dry area. We applied a new coat every 1 hour.
Step 2. Apply Green Paint To Your Work Piece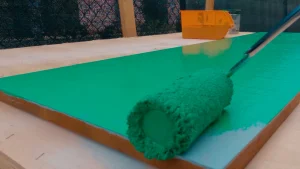
You can get the paint team at Bunnings to color match the “Australian Made Green” for your workpiece. This required a custom paint mix to be done, this takes 5 minutes and it’s affordable.
Once you’ve applied your primer and can’t see the wood grain of the work piece, you can then apply the paint from your local Bunnings.
Similar to the primer, we applied 2-3 layers of the green paint and set it to dry.
Step 3. (Optional) Apply Transparent Stencil Vinyl To Your Work Piece
Once your work piece is dry, cover the surface with a layer a transparent stencil vinyl.
This way you can pocket the Kangaroo while keep the surrounding triangle green for when you apply the yellow and white paint, without worry of paint staining the green paint.
This is optional if you wish to paint your Australian Made logo.
Step 4. Prepare Your Work Piece For Cutting On Your CNC Machine
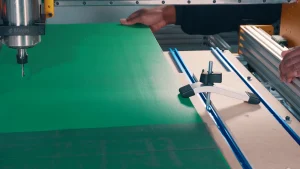
Clamp down your work piece on the spoiler board of the CNC machine.
We used the OutBack CNC Machine and clamping down the work piece using Maker Store’s T-Tracks.
Step 5. Insert End Mill Into The Collet Nut
Begin by inserting the 6mm (#100) Maker Bits Carbide Flat Down Cut into the collet nut.
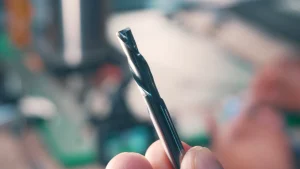
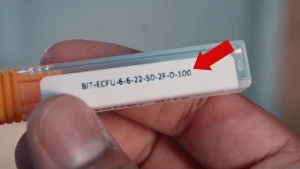
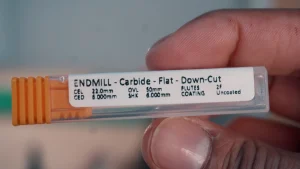
This is a great end mill if you want to have a great top finish and is excellent for pocketing and letter engraving.
First you need to tighten the collet nut and then you start calibrating the OutBack CNC maching!
Step 6. Calibrate The OutBack CNC Machine

Before you start cutting, you need to ensure our work coordinates are set. We used Maker Store’s XYZ probe to do this.
Step 7. Start Cutting

With the work coordinates set, work piece clamped firmly, you can begin cutting!
Step 8. Changing The End Mill
You have finished pocketing the Australian Made kangaroo and the triangle, now what?
The OutBack CNC is programmed to conduct a tool change to begin phase 2, pocketing the “Australian Made” text.
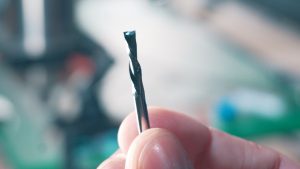
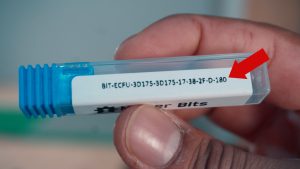
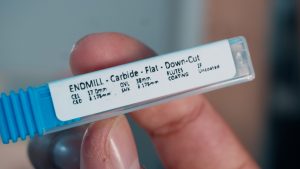
Remove the 6mm (#100) end mill and swap it for the 3.175mm (#180) Maker Bits Carbide Flat Down Cut end mill.
You should note that this is a great mill if you want to make small pockets and more intricate lettering.
Once you insert end mill into the collet nut, tighten it, and you’re good to go.
Step 9. Pocketing The “Australian Made” Text
We did a quick Z-axis probe before hitting the start button to being phase 2.

Post processing is an important step in any CNC cutting process. With experience and setting correction, minimal post processing will be required.
You can treat rough edges and tabs by sanding down with sandpaper, or by using a rotary tool like the Dremel.
That’s It! That’s The Entire Cutting Process!
You can watch the entire workflow process of this cut in the video below.