Messy cables? We’ve been there. So we decided to build a modular, expandable cable rack tailored to our workshop — using CNC-cut brackets, T-slot extrusion, and smooth rod.
Here’s a step-by-step breakdown of how we made it from scratch.
Step 1: Designing the Cable Management System
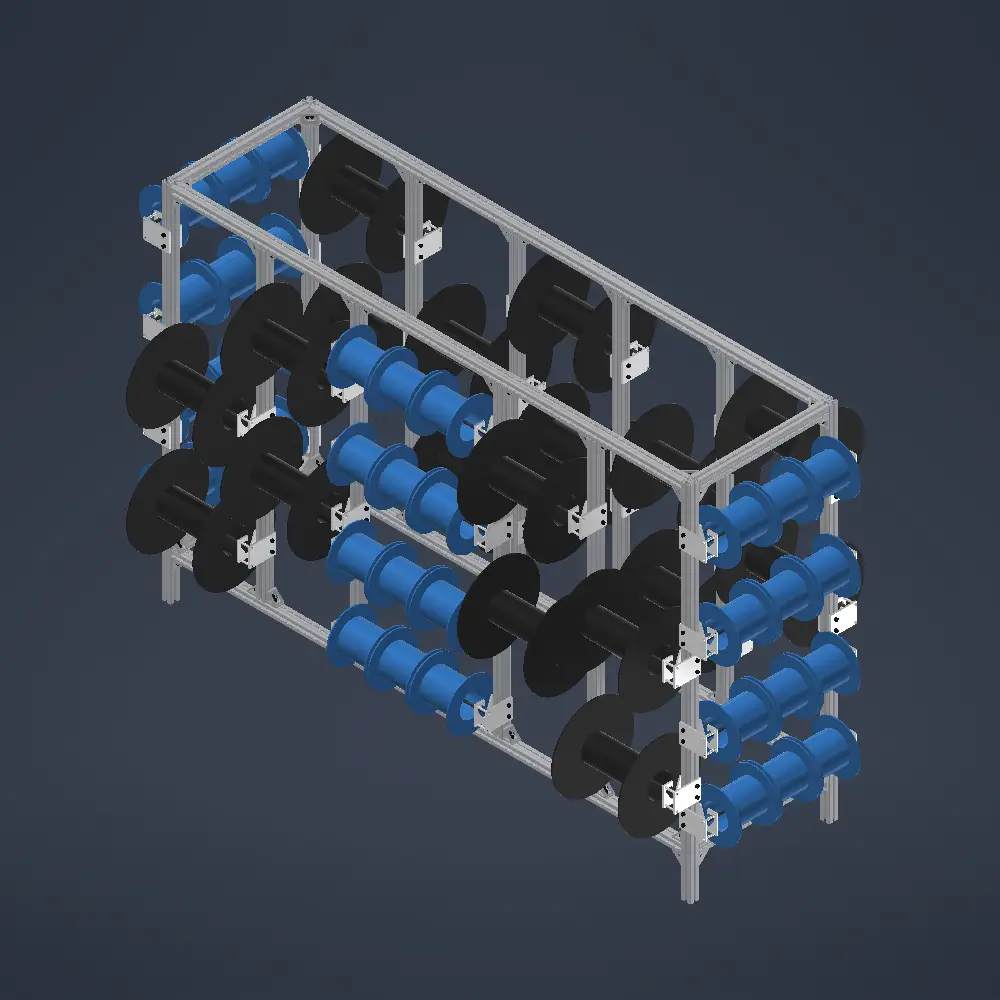
Before cutting any material, we started with a complete design for the cable management system. Our goal was to build a modular, space-saving solution using T-slot extrusion for the frame and a custom CNC-cut bracket to hold a smooth rod for cable loops.
We laid out the frame dimensions, bracket position, and rod placement in CAD to ensure everything would fit perfectly — strong, stable, and easy to adjust later.
Design: Autodesk Inventor
Toolpath (CAM): Fusion 360
Machine Control: ioSender
Step 2: CNC-Cutting the Bracket Plates
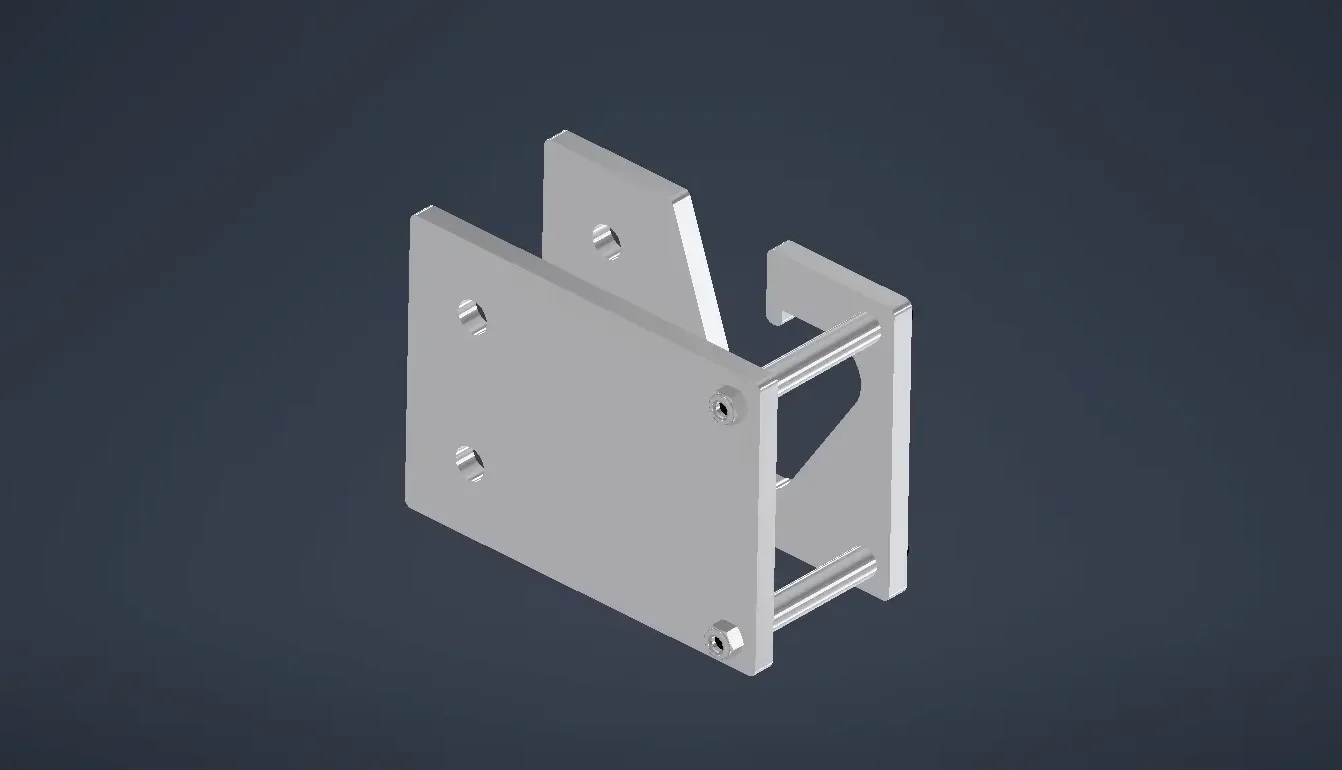
We started by cutting two custom aluminium plates on the FORTIS Router CNC. These plates were designed to form a bracket that would hold a smooth rod — the backbone of our cable loop system.
Using 6mm aluminium and pre-designed mounting holes, the parts came out clean and ready for assembly.
Tools used: FORTIS Router CNC, end mill #293
Material: 6mm aluminium plate
Cut settings: Depth per pass: 1.5mm | Spindle speed: 15,000 RPM
Step 3: Assembling the CNC Bracket
Once cut, we assembled the plates using screws(M5 Cap Head Bolts 55mm length), round spacers(5mm Round Spacers, 40mm length), and Hex Lock Nuts(5mm size).
This created a rigid bracket with an open gap to support a 10mm smooth rod, which would eventually carry a whole row of cable loops.

Step 4: Building the Frame with T-Slot
Next, we built the main support frame using T-slot aluminium extrusion.

We slid in T-nuts, secured 2-hole 90° corner brackets with screws, and repeated this process to build one full face of the frame.
Why T-slot? It’s strong, easy to modify, and ideal for modular workshop setups.

Step 5: Connecting Both Frames
We then joined two T-slot frames with crossbars to create a free-standing, stable structure. This turned a flat frame into a three-dimensional rack.
Step 6: Installing the Bracket and Rod
We mounted the CNC bracket onto the T-slot using T-nuts and screws, then slotted in the 10mm smooth rod.
This setup allows for adjustable height and makes it easy to swap out or add more cable loops later.
Finally, we added all our cable loops to the smooth rod, just like thread spools, but for power and signal cables.
The setup keeps everything neat, accessible, and off the bench.
We even added clamps and pliers on the sides — because why not use every bit of space?
Final Result
We now have a custom-built cable management system that fits our workflow, can evolve, and was made 100% in-house with Maker Store parts.
Want to build your own?
You can find all the parts used in this project on our website:
Watch the full build video on YouTube:
Got an idea in mind?
We take custom orders, and we’d love to help bring your project to life.