CNC Laser Attachment
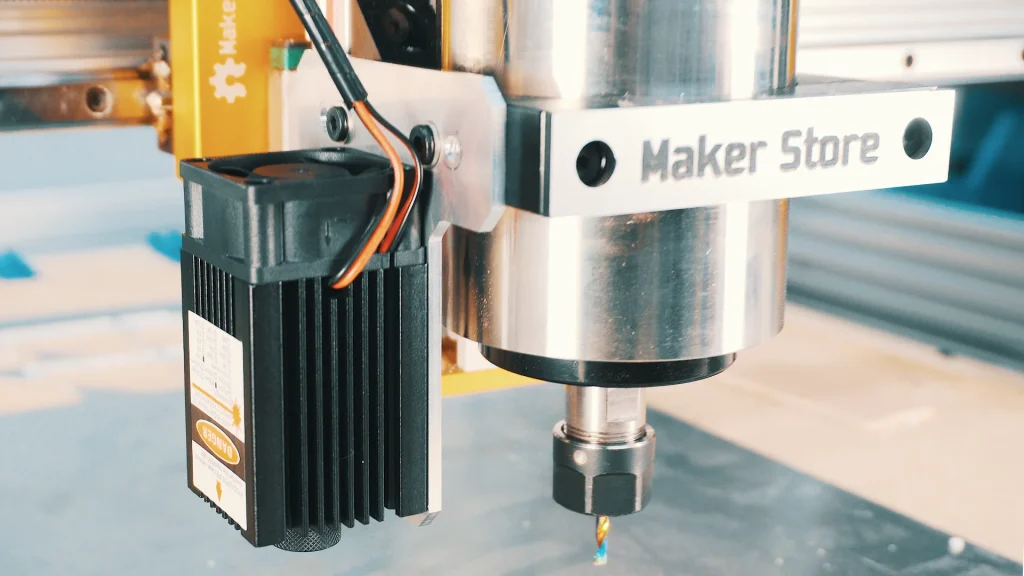
Knowing what the Outback CNC machine can do, one of our customers approached us wanting to pair our 15W 445nm (Blue) Laser Module onto the OutBack CNC machine spindle mounting bracket. In the ever-evolving world of craftsmanship, the OutBack CNC machine stands out as a genuine game-changer. It empowers enthusiasts to turn their most ambitious ideas into reality with unmatched precision and creativity. By swiftly delivering solutions and products, users gain more time to brainstorm fresh designs. With Maker Store’s OutBack CNC machine, we designed and machined a CNC Laser Attachment solution.
CNC Laser Attachment Design
Utilising Fusion 360, we initially crafted a mounting plate showcasing bottom holes and top slots. Specifically, we designed these slots to seamlessly secure the Laser Module with M3 10mm Button Head Screws. On the other hand, the holes are strategically positioned to allow for straightforward assembly onto either the Maker Store Spindle Bracket or a 20×60, 20×80 and C-Beam V-Slot extrusion. Moreover, with user safety in mind, the mounting plate confidently boasts 5mm chamfers at its edges.
You can effortlessly attach the plate to the Maker Store Spindle Bracket using M5x8mm Low Profile Screws. Furthermore, since we connect both the mounting plate and the Laser Module to the spindle, you’ll find adjusting its height refreshingly simple by just maneuvering the Z-Axis of the machine.
Machine Settings
Depending on the CNC machine and end mill you are using, you might have to adjust the feeds, speeds and depth of cut. In this cut, we were quite conservative with our feeds and speeds. In reality, the OutBack CNC machine can operate at faster settings.
- Material used: Aluminium 5052 – 3mm thick sheet
- End Mill used: 1 Flute Carbide End Mills – Up Cut For Aluminium/Soft Metals – No. 206
- Feed Rate = 1500mm/min
- Spindle Speed = 18000 RPM
- Depth of cut per pass = 1mm
- Estimated time of cut = 8 minutes
Click here to download the DXF file of the design